Migrating from Wordpress to Hugo using Terraform & AWS Amplify

Introduction
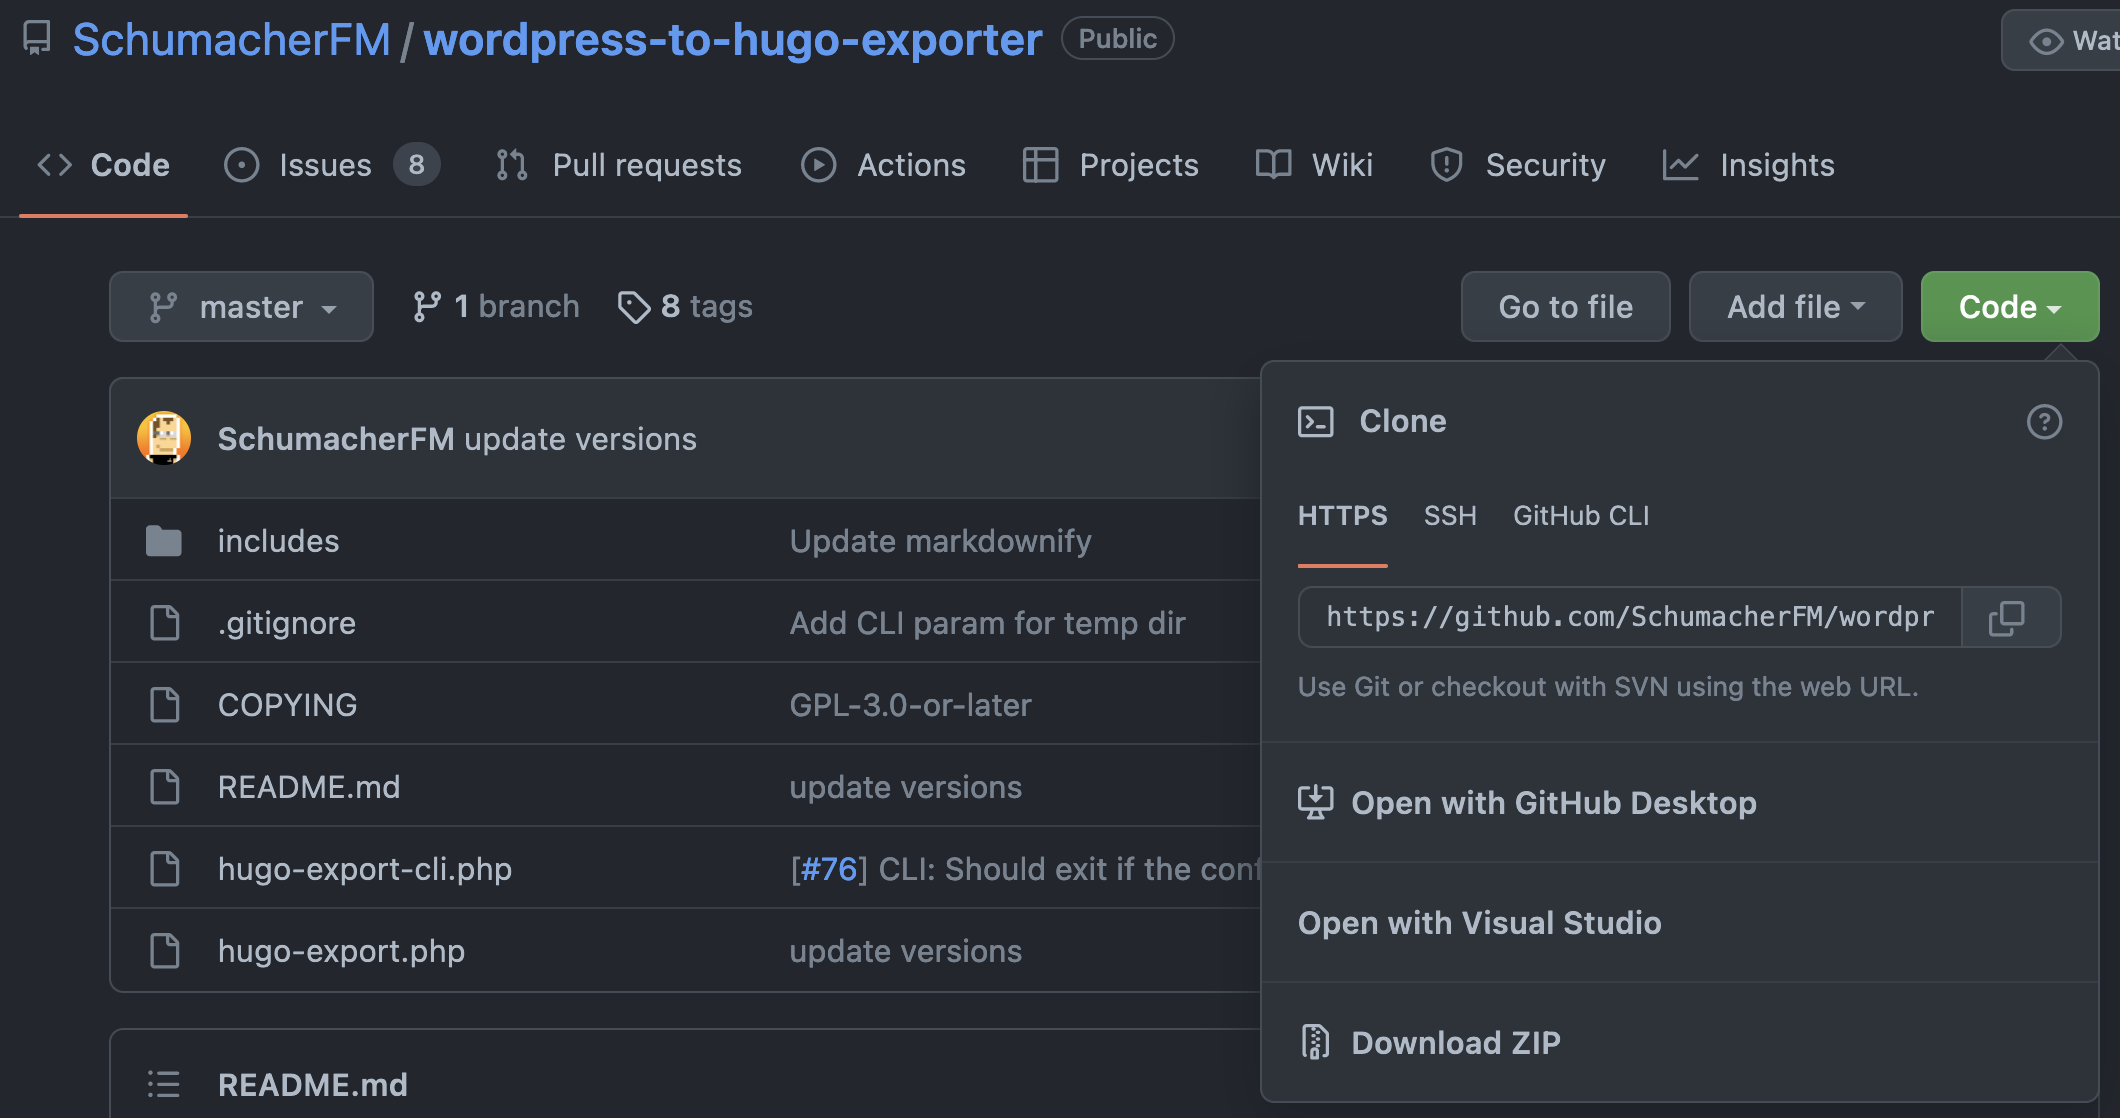
Welcome to my new blog! I recently took the time to migrate away from WordPress and chose Hugo as the new static site generator. My first blog post will cover how to accomplish this migration with an IaC approach using Terraform and serving blog content in a CI/CD flow with Github/AWS Amplify. I won’t go into much detail on configuring Hugo, but you should familiarize yourself with their documentation and how to structure a project. Check out my repository to get an idea.
If you want to skip the blog and just check out the project Show me the code!
Get Caught Up
AWS Amplify is a front and backend set of tools to build full-stack applications on AWS, incredibly quickly.
Terraform is an IaC automation tool.
Hugo is a framework for building websites.
Extract WordPress Data
First things first.. we need to get our old WordPress data and blog posts! I was paying about 60 bucks a year to host everything through WP. This limited me, as installing plugins required a level of subscription which I was not willing to pay for. So, the first step is to export your data from WP and leverage a local Wordpress instance to execute the plugin functionality.
NOTE: Check out the WP documentation here.
This will export a .zip file with all images and XML formatted blog posts. Now, what to do with this data? Well, we need to convert it to MarkDown format, which is what Hugo will expect when serving content. I found an awesome WP plugin that someone developed for this very specific purpose, the only problem is that.. we need an instance of WordPress to install the plugin and use it! Doh! Well, good thing Docker is our friend.
And, yes. We exported our wordpress site to simply import it into a WordPress Docker container. This may be unnecessary, if you already have a way to install plugins. For me, I had to upgrade subscription to do so, which was not gonna happen.
WP Docker
I used the following docker-compose.yml file to spin up a simple, local instance of WP and install the wordpress-to-hugo-exporter plugin.
version: "3.8"
services:
  mariadb:
    image: docker.io/bitnami/mariadb:10.6
    volumes:
      - "mariadb_data:/bitnami/mariadb"
    environment:
      # ALLOW_EMPTY_PASSWORD is recommended only for development.
      - ALLOW_EMPTY_PASSWORD=yes
      - MARIADB_USER=bn_wordpress
      - MARIADB_DATABASE=bitnami_wordpress
  wordpress:
    image: docker.io/bitnami/wordpress:latest
    ports:
      - "8000:8080"
      - "443:8443"
    volumes:
      - "wordpress_data:/bitnami/wordpress"
    depends_on:
      - mariadb
    environment:
      # user/bitnami
      - ALLOW_EMPTY_PASSWORD=yes
      - WORDPRESS_DATABASE_HOST=mariadb
      - WORDPRESS_DATABASE_PORT_NUMBER=3306
      - WORDPRESS_DATABASE_USER=bn_wordpress
      - WORDPRESS_DATABASE_NAME=bitnami_wordpress
volumes:
  mariadb_data:
    driver: local
  wordpress_data:
    driver: local
Save the above file locally and with docker installed, run the following
docker-compose up
Once the local WordPress container is accessible, simply import the XML contents from the .zip file you exported from your original blog. Then, go ahead and download the git repo .zip format from the repository home page.
The default password for this image
Username: user
Password: bitnami
Login to WP and upload the .zip plugin. Run the export from the new plugin!
Local Env
At this point, I had my old blog content and I was ready to create my new blog. I started a new repository and created a new hugo site inside of it. I chose the LoveIt theme for now. Once this piece is complete, move the exported content from WP into the content directory of your new site.
Locally, I am using Traefik and Hugo containers to develop content. I am unsure if I will continue using Traefik for this, as it’s a little overkill. I started by volume mounting the site contents to an nginx container, but I was in a learning mood and wanted to see if Traefik would bring benefits. For my purpose and discovery, it’s not really what I needed. It works great, but a lot of overhead if it’s not gonna be used for production or act as a general LB for other services.
  traefik:
    image: "traefik:latest"
    container_name: "traefik"
    restart: "unless-stopped"
    ports:
      - "80:80"
      - "8080:8080"
    volumes:
      - "/var/run/docker.sock:/var/run/docker.sock:ro"
      - "./traefik/traefik.toml:/traefik.toml"
      - ./traefik/acme.json:/acme.json
    networks:
      - "devknot"
    labels:
      - "traefik.frontend.rule=Host:traefik.local.dev-knot.com"
      - "traefik.port=8080"
      - "traefik.backend=traefik"
      - "traefik.frontend.entryPoints=http,https"
  hugo:
    image: "klakegg/hugo:latest"
    container_name: "hugo"
    networks:
      - "devknot"
    working_dir: "/usr/src/app"
    command: serve --config ./config.toml -e production
    volumes:
      - "./dev-knot:/usr/src/app"
    labels:
      - "traefik.enable=true"
      - "traefik.http.routers.hugo.rule=Host(`dev-serv-01`)" # some local dns entry
      - "traefik.port=1313"
      - "traefik.http.routers.hugo.entryPoints=web"
    restart: unless-stopped
    depends_on:
      - "traefik"
networks:
  devknot:
    external:
      name: devknot
Infrastructure
So, the bulk of the work was around configuring the infrastructure, because I did everything through Terraform. This was a bit of a learning curve, as I have never used AWS Amplify - so, automating a new thing is always a fun time. I will break up the Terraform file in this section but feel free to review it all together here
I am using Terraform with a cloud backend which is all being managed locally from a terraform container with the help of docker-compose. My infrastructure won’t be changing much, so I did not find the need or time to incorporate it into CI…at this time. If you go to the project repository, you can see a terraform folder that is volume mounted into the container. The Terraform Cloud is mostly serving as a place to park my state files.
If you want to get an idea of the variables that I am using, check out the variables.tf file in the project files
---
version: "3.8"
services:
  terraform:
    working_dir: "/usr/src/app"
    image: "hashicorp/terraform:latest"
    volumes:
      - "./terraform/:/usr/src/app/"
    environment:
      AWS_ACCESS_KEY_ID: "${AWS_ACCESS_KEY_ID}"
      AWS_SECRET_ACCESS_KEY: "${AWS_SECRET_ACCESS_KEY}"
      AWS_REGION: "${AWS_REGION}"
      TF_VAR_gh_access_token: "${TF_VAR_gh_access_token}"
      TF_TOKEN_app_terraform_io: "${TF_TOKEN_app_terraform_io}"
The above shows the docker-compose.yml file and the necessary environment variables that I used. For the Terraform backend, there is no need to use a .terraformrc file anymore for authentication to cloud service. Simply provide the auth token with the cloud service name and replace any ‘.’ with ‘_’.
Example app.terraform.io == app_terraform_io
The value of this variable is the actual Token. This will satisfy the requirements to initialize terraform with the cloud backend below
terraform {
  cloud {
    organization = "crunchy-org"
    workspaces {
      name = "dev-knot"
    }
  }
}
AWS Amplify Configuration
This block will create the Amplify application under the correct region. The build_spec is a big part of the CI/CD process, as it defines the stages of the builds. For my application, the steps are very simple. Create the static site in a production manner from the git repository. Pay attention to the variables I have defined. This is specifying the Git Repository to use and the Git Token.
LIVE_UPDATE resource allows to upgrade hugo to the latest available release at build time.resource "aws_amplify_app" "dev-knot-app" {
name = var.blog_name
repository = var.repository
access_token = var.gh_access_token
enable_branch_auto_build = true
platform = "WEB"
build_spec = <<-EOT
version: 0.1
frontend:
phases:
build:
commands:
- "cd dev-knot && hugo serve --config ./config.toml -e production"
artifacts:
baseDirectory: ./dev-knot/public
files:
- '**/*'
EOT
# The default rewrites and redirects added by the Amplify Console.
custom_rule {
source = "/<*>"
status = "404"
target = "/index.html"
}
environment_variables = {
ENV = "dev-knot"
"_LIVE_UPDATES" = jsonencode(
[
{
pkg = "hugo"
type = "hugo"
version = "latest"
},
]
)
}
}
Speaking of Git Repositories, we need to tell Amplify which repo branches to use! Create the branches in the following manner and assign a stage or either PRODUCTION or DEVELOPMENT. Next, a webhook needs to be populated to the Git Repository. The branch names can be whatever name in your repository, but the stage values are limited.
# ADD Branch setup to new AWS Amplify APP Resource
resource "aws_amplify_branch" "main" {
  app_id      = aws_amplify_app.dev-knot-app.id
  branch_name = "main"

  stage               = "PRODUCTION"
  enable_notification = true
}
resource "aws_amplify_branch" "develop" {
  app_id      = aws_amplify_app.dev-knot-app.id
  branch_name = "develop"

  stage               = "DEVELOPMENT"
  enable_notification = true

}
# ADD Webhooks
resource "aws_amplify_webhook" "main" {
  app_id      = aws_amplify_app.dev-knot-app.id
  branch_name = aws_amplify_branch.main.branch_name
  description = "amplify-hook-main"
}
resource "aws_amplify_webhook" "DEVELOPMENT" {
  app_id      = aws_amplify_app.dev-knot-app.id
  branch_name = aws_amplify_branch.develop.branch_name
  description = "amplify-hook-develop"
}
ACM Certificates and SSL
Of course, we want to serve our content with SSL. For my blog, my domain is inside of Router 53, which made it super simple to accomplish all of this.
The certificate request can take a few minutes. So, be patient.
# ACM Certificate
resource "aws_acm_certificate" "blog" {
  domain_name       = var.blog_domain
  validation_method = "DNS"

  lifecycle {
    create_before_destroy = true
  }
}
resource "aws_acm_certificate" "https-blog" {
  domain_name       = "www.${var.blog_domain}"
  validation_method = "DNS"

  lifecycle {
    create_before_destroy = true
  }
}
Associate the domain to the application and create the subdomain patterns.
resource "aws_amplify_domain_association" "dev-knot" {
  app_id      = aws_amplify_app.dev-knot-app.id
  domain_name = var.blog_domain

  # https://example.com
  sub_domain {
    branch_name = aws_amplify_branch.main.branch_name
    prefix      = ""
  }

  # https://www.example.com
  sub_domain {
    branch_name = aws_amplify_branch.main.branch_name
    prefix      = "www"
  }
}
Route 53
Finally, update the Route 53 records
resource "aws_route53_zone" "primary" {
  name = var.blog_domain
}

resource "aws_route53_record" "blog_cert" {
  for_each = {
    for dvo in aws_acm_certificate.blog.domain_validation_options : dvo.domain_name => {
      name   = dvo.resource_record_name
      record = dvo.resource_record_value
      type   = dvo.resource_record_type
    }
  }

  allow_overwrite = true
  name            = each.value.name
  records         = [each.value.record]
  ttl             = 300
  type            = each.value.type
  zone_id         = aws_route53_zone.primary.zone_id
}

resource "aws_route53_record" "blog" {

  zone_id = aws_route53_zone.primary.zone_id
  name    = var.blog_name
  type    = "A"

  alias {
    name                   = var.blog_domain
    zone_id                = aws_route53_zone.primary.zone_id
    evaluate_target_health = true
  }
}

resource "aws_acm_certificate_validation" "blog_cert" {
  certificate_arn         = aws_acm_certificate.blog.arn
  validation_record_fqdns = [for record in aws_route53_record.blog_cert : record.fqdn]
}
Deploy With Terraform
The easy part! If you are following along, ensure that you already have a Git Repository configured that you’d like to use and all variables exported correctly into your environment.
We’ll initialize first. Again, the volume mount and working_dir, allow us to avoid specifying the change directories flag to terraform.
docker-compose run terraform init
Plan it out
docker-compose run terraform plan
Review the output and deploy!
docker-compose run terraform apply
Confirm the output and wait a few minutes while AWS infrastructure is configured.
Github
So, now what?! Well, anytime I create a new post and merge code into my develop or main branch, a simple webhook triggers the build_spec action within AWS Amplify.

After locally reviewing the publicly reachable develop branch content, I can make final edits or merge to the main for the final product release.
Additionally, I am building an nginx container that is pushing to my DockerHub account upon merging to develop or main and tags the image accordingly. This was completely not needed, but it’s acting as a simple way to spin up my blog locally for …whatever reason ¯\_(ツ)_/¯
Try It!
docker run -it --rm -d -p 8080:80 --name blog h4ndzdatm0ld/dev-knot-blog:{latest|develop}

One other awesome feature from AWS Amplify is the ability to preview PRs before merging to a pre-defined branch. I enabled previews after enabling the AWS Amplify GitHub app to my repository - the configuration is under the branch resource in the terraform file.
Hugo Version
Depending on what theme you choose, you may need to override the version in AWS Amplify. From AWS Documentation, follow these manual steps
Using a Newer Version of Hugo

If you need to use a different perhaps newer, version of Hugo than the version
currently supported by AWS Amplify:

- Visit the AWS Amplify Console, and click the app you would like to modify.
- In the side navigation bar, Under App Settings, click Build settings
- On the Build settings page, near the bottom, there is a section called Build image settings.
- Click Edit Under Live package updates, click Add package version override
- From the selection, click Hugo and ensure the version field says latest
- Click Save to save the changes.
Summary
I am very excited about having this new approach to blogging! I get to use VSCode to write my blogs in markdown and use all the plugins that I typically use in my normal day-to-day development, etc. Additionally, I love the ability to treat my blog as code from deploying the infra to releasing content through CI/CD. AWS Amplify has a lot of other great features, such as alerting, metrics, manual triggers, code reviews and a full back-end development environment. As for my previous blog-posts on this new site, they need a lot of love and updates to render properly. I may or may not take the time to do that. Hope you enjoyed :)